Summary
The Hospital List displays all hospitalised patients. Any Hospital bookings remain on the Hospital List until they are discharged.
Details
The Hospital List can be accessed via the 'Hospital' button from the main toolbar or from the Daylists menu.


Adding a Patient to the Hospital List
From Treatment Screen
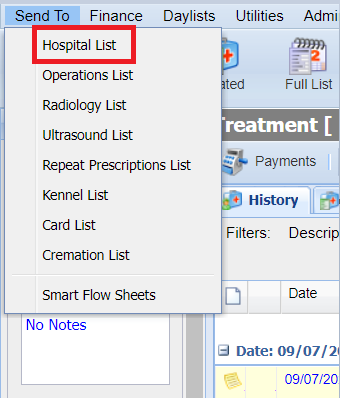
- From the Treatment screen, select 'Send To' from the top toolbar menu and select 'Hospital List'.
- This will send the patient onto the Hospital list for today's date
Dispensing Treatment
- From the Treatment screen, when adding a treatment, certain treatment codes can be configured to display a prompt to 'Send To Hospital List'.
- Selecting ‘Yes' to this prompt will send the patient to the Hospital List for today’s date, prompting the user to input the reason.

From the Diary Screen
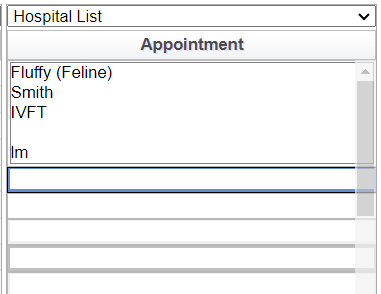
In order to use this option, you will need to have a Hospital column setup in the Diary screen. Once this has been set-up, you can add to the Hospital List via the Diary screen.
- Navigate to the Diary screen and locate the 'Hospital column'.
- Specify a 'reason' for the action and save the 'appointment'.
- The entry will display in the Diary screen and on the 'Hospital' Daylist.
Using the Hospital List
There are several options available to be used in the Hospital List when right-clicking on a patient:
Button | Description / Function |
Set Arrived | Sets the patient as arrived. |
Set Failed to Show | Sets the patient as failed to show. This will appear GREY in the Hospital List and the Diary. |
Set Cancelled | Sets the patient as cancelled. This will appear in a NEUTRAL BROWN colour in the Hospital List and the Diary. |
Set Treated | The appointment will change to BLUE to indicate the client has been treated. |
In Overnight | A flag used to indicate a patient is staying overnight. |
Blood Test | A flag used to indicate if the patient requires a blood test. |
Set As Emergency | Sets the appointment as an emergency. This will show a red and white cross in the third column in the Hospital List and puts a red banner around the appointment in the Diary with a red and white cross. |
Set Priority | Allows you to set a priority against an appointment. |
Set Paid | The appointment turns GREEN in the Hospital List and Diary. |
Set Discharged | Removes the patient from the Hospital List. They will now appear when you select ‘Show Discharged’ |
Discharge Non Overnight Bookings | Any records not flagged as 'In Overnight' will be discharged. |
Ambulance Driver Memo | Store Information against a patient for the driver's attention. |
Appointment Memo | Adds an 'M' to the third column on the Hospital List, to indicate there is a memo attached. |
Edit Appointment | Allows the user to change the appointment reason & note. |
Delete Appointment | Removes the appointment from the Hospital List and Diary. |
Print Hospitalisation Form | Generates a hospitalisation document for the patient. |
View Appointment Trail | Displays an audit trail for the selected appointment. |
Send To Kennel | Sends the Patient to a Kennel. |
Clipper | Adds the Patient to Clipper |
Add Weight | Allows the user to add the patients weight. |
Payments | Triggers the Payment workflow. |
Show Referrals | Shows any referral practice information. |
Consent | Generate a Consent form for the patient. |
Set EDD | Specify an Estimated Discharge Date (EDD) for the Patient. |
View History | Displays the Patient's Treatment history in a pop-up window. |
View PACS | Navigates to your practice's PACS system. For more information, see PACS. |
Filtering the Hospital List
The Hospital List can be filtered by Date, Surgeon, Site, Client Category and/or Discharged Patients.
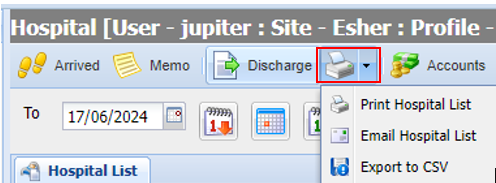
Exporting the Hospital List
The Hospital list can be printed, emailed or exported to CSV file.