Summary
The Contact screen facilitates the registration of contacts who are not clients (Your RCM, X-ray machine servicing company etc.)
Details
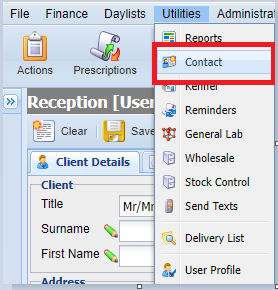
The Contact screen can be accessed via Utilities > Contact.
Registering a Contact
The Registration of a Contact is carried out using the below fields, (similar to those used when registering a Client).

- Select the 'Clear' button (unless the screen is clear already).
- Select a 'Title' for the contact from the drop down menu.
- Fill in all the required information such as Surname, First Name and Company along with the Addresses and Contact information.
- Verify the information is correct and click the 'Save' button.
- Tip: To move to the next text field, you may select with the mouse or use either the tab button or the return button/enter button on the keyboard.
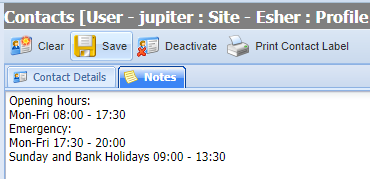
- Once the Contact has been saved you can now use the Notes button to add any information or notes for the Contact.
Searching for a Contact
To search for a Contact, you can search by any of the Contact details provided (Similar to searching for a Client).
- Search using any of the information fields.
- Select the Contact from the list presented.
- Selecting this Contact will bring up their details.
Deactivating a Contact
- Search for and select a Contact.
- Select the 'Deactivate' button
Note - Once a Contact has been set as deactivated, users can still search for them by selecting the ‘Show Deactivated’ button. Deactivated Contacts will display in a light blue colour.
Printing a Contact Label
- Search for and select a Contact.
- Select the 'Print Contact Label' button
