Summary
Templates are generated through various areas of the Merlin
This page documents how documents can be generated using the Consent screen as an example.
Details
Generate a Document
The following types of documents can be generated in Merlin:
Consent = Reception, Diary, Daylists and/or Treatment screens.
Client = Reception screen.
Treatment = Treatment screen.
Prescription = Treatment Label Screen.
Debtors = Debtors Chase Up Letters
Patient, Compliance & Appointment Reminders = Reminders screen.
Code Entry = Code Templates
Report Wizard = Report Wizard
How to generate a Consent form
- Search for the client and select the patient.
- Select the Consent button
- Enter Procedure & Possessions (if required). Note that these can be added into the Merlin Library area of (Administration > Documents > Consent Items > Procedures/Possessions). The template must have had the Merge Fields of ‘Procedure’ and ‘Possessions’ entered in order for this to display in the generated document.
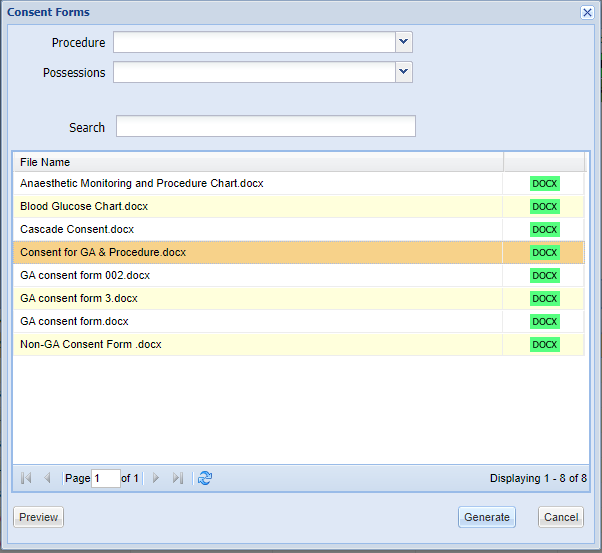
- Use the Search box to search for the document you wish to generate.
- Select the Surgeon who is generating the document.
- Select the document and select 'Generate'.
- Once the document has been generated, it can be modified if the correct Setting has been enabled. (Administration > Settings > System > Tick ‘Edit Consent form').
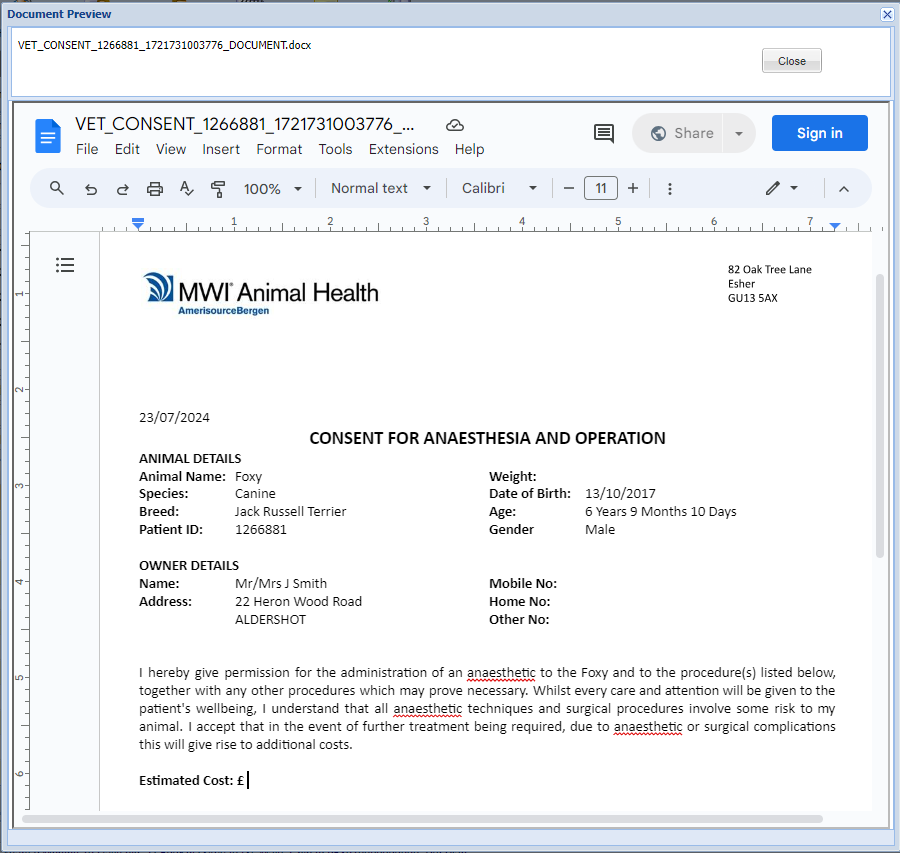
- Make any required changes and print the document or close the screen (the document auto-saves).
- This document will then save in the patient’s Documents tab


Navigate to the Diary, right click an appointment and select ‘Consent'.
Navigate to the patient History tab and select ‘Consent’.
Navigate to the Add Treatment screen and select ‘Consent’.
Navigate to a Daylist such as Operations, Treated, Waiting, Hospital. From these screens, right click on the appointment and select ‘Consent’.
How to generate a Client form
- Search and select the client.
- Select the New Document button.
- Use the Search box to search for the document you wish to generate.
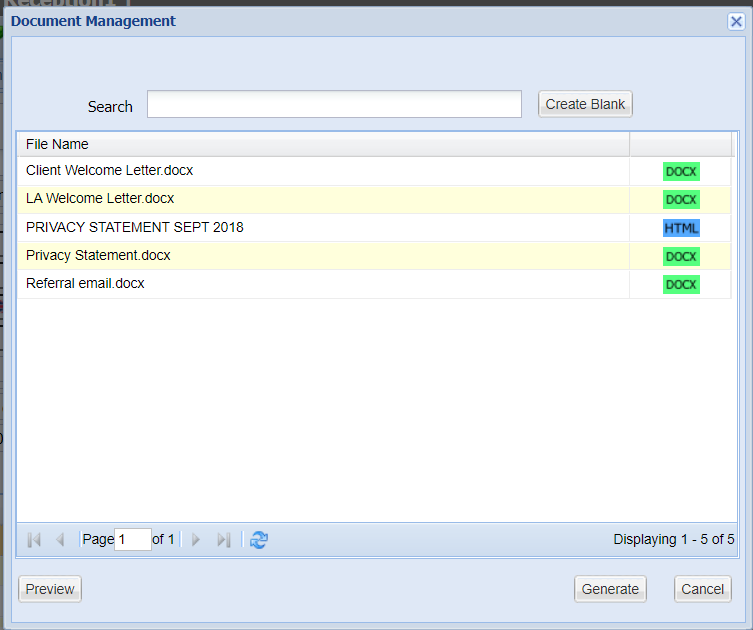
- Select the document and select 'Generate'.
- Once the document has been generated, it can be modified if the correct Setting has been enabled. (Administration > Settings > System > Tick ‘Edit Client’s documents').
- Make any required changes and print the document or close the screen (the document auto-saves).

- This document will then display in the client’s Documents tab.


How to generate a Treatment form
- Search for the client and double click the patient.
- Select the Doc Mgmt tab and select Create New Treatment.
- Use the Search box to search for the document you wish to generate.
- Select the document and select 'Generate'.
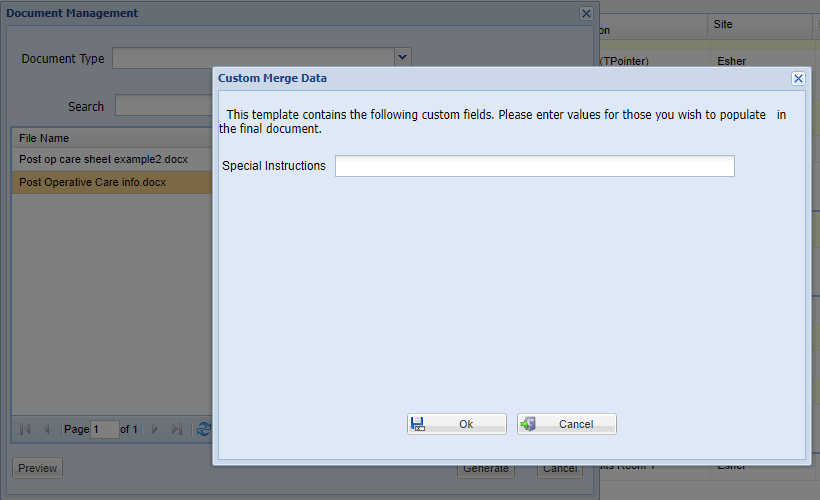
- If any prompts have been added into the original Microsoft Word document, the Custom Merge Data window will display, prompting the user to add some free text in the box before generating the document. (For more information on how to add prompts, please see Document Management - Creating Templates Step 3: Using Quick Parts).
- Once the document has been generated, it can be modified if the correct Setting has been enabled. (Administration > Settings > System > Tick ‘Edit Treatment documents').
- Make any required changes and print the document or close the screen (the document auto-saves).
- This document will now display in the ‘Add Treatment’ screen. Press ‘Save'
- This document will then display in the patient’s Documents tab.

How to generate a written prescription form
- Search for the client and double click the patient.
- Press ‘Add Treatment’.
- Search for the item and press ‘Add’. Note - If Batch Traceability is turned on for this item in Code Entry, then Merlin will prompt to ask you which Batch Number you wish to select. If Batch Traceability is not turned on, then follow steps 5 onwards.
- Select ‘Use Selected Batch’
- The Treatment Label window will now display. Press ‘Written Prescription’.
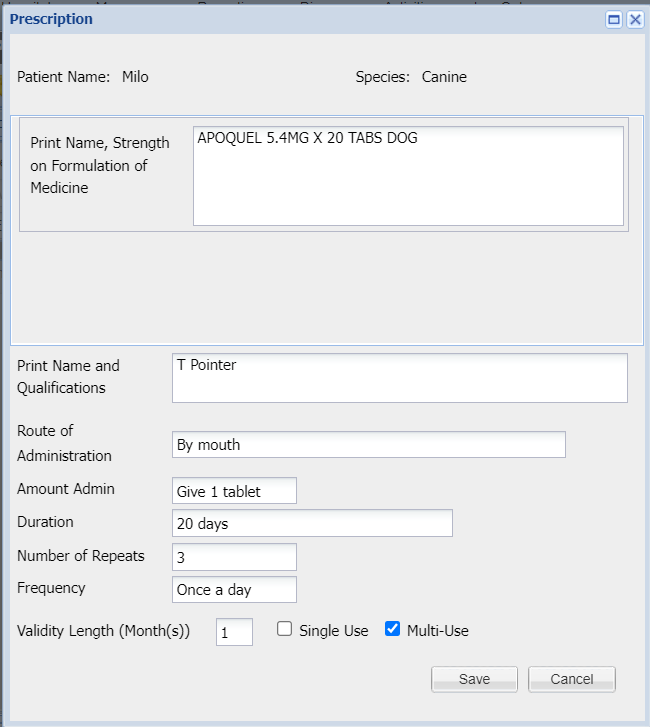
- A new Prescription window will now display. Proceed to fill in the boxes and press ‘Save’
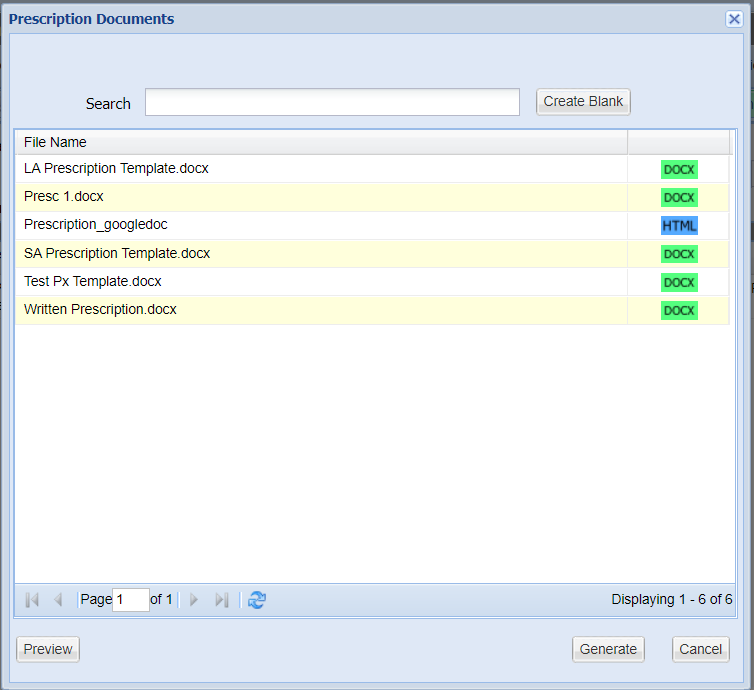
- Use the Search box to search for the document you wish to generate.
- Select the document and select 'Generate'.
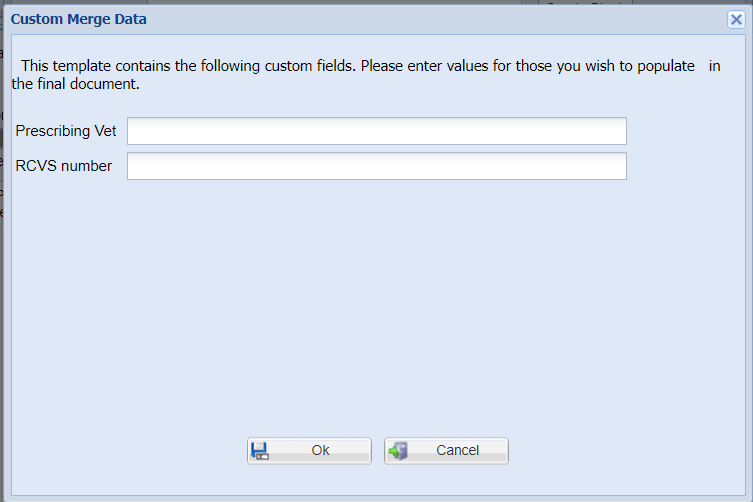
- If any prompts have been added into the original Microsoft Word document, the Custom Merge Data window will display, prompting the user to add some free text in the box before generating the document. (For more information on how to add prompts, please see Document Management - Creating Templates Step 3: Using Quick Parts)
- Once the document has been generated, it can be modified if the correct Setting has been enabled. (Administration > Settings > System > Tick ‘Edit Prescription documents').
- Make any required changes and print the document or close the screen (the document auto-saves)
- The written prescription document will show in the Add Treatment screen. Press ‘Save’
- The document can now be opened from the patient History tab and the patient Documents tab


How to generate a Debtors chase up letter
To generate a Debtors letter, please refer to Debtors.
How to generate a Patient Reminder letter
To generate a Patient reminder letter, please refer to Reminders > Patient Reminders.
How to generate a Compliance Reminder letter
To generate a Compliance Reminder letter, please refer to Reminders > Compliance Reminders.
How to generate an Appointment Reminder letter
To generate an Appointment Reminder letter, please refer to Reminders > Appointment Reminders.
How to generate a Code Entry template
Please refer to Code Entry > Code Maintenance > Add A Code > Treatment Options for information about Code Entry templates.
To generate a Code Entry template, the code must have ‘Enable Documents’ turned on in the Treatment Options screen, and a relevant document attached to it.
- Search for the client and double click the patient.
- Press ‘Add Treatment’.
- Search for the item and press ‘Add'
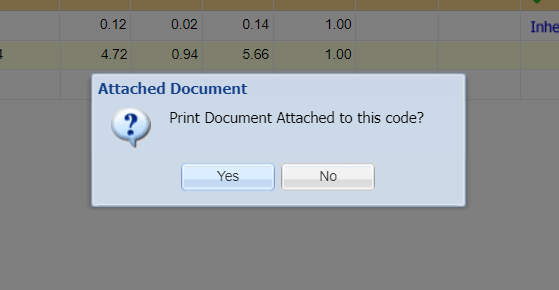
- The below pop up will appear. Press ‘Yes’ to print the template
- Once the document has been generated, it can be modified if the correct Setting has been enabled. (Administration > Settings > System > Tick ‘Edit Code Entry documents').
- Make any required changes and print the document.

How to generate a Report Wizard letter
Please refer to Reports > Report Wizard > Report Wizard results for information about how to generate a report.
- When you have selected the required criteria in the Report Wizard screen, and selected ‘List’, there are options to email, text and print the letter.
- Use the Search box to search for the document you wish to generate.
- Select the document.
- The document can be previewed before sending out/printing by selecting the ‘Preview’ button.
- Once the document has been generated, it can be modified if the correct Setting has been enabled. (Administration > Settings > System > Tick ‘Edit Report Wizard documents').
- Make any required changes and print the document. View the Report Wizard module to find out more on other ways of sending documentation to clients.
